

The focus of this WordPress tutorial is to learn how to install WordPress in Hostinger cPanel. Especially when you need to add an additional domain name in your existing Hostinger hosting plan and further install WordPress on the addon domain. Hostinger is highly popular in 2021 than ever it was. The certain reason for the popularity is the optimum performance at reasonable prices and much more flexibility to choose from well-diversified hosting plans.
Similar to other reputed hosting companies, Hostinger also provides a one-click WordPress installation. It makes the process easy for WordPress beginners. Before we start the tutorial, please ensure to have an addon domain.
Checklist for Addon Domain
- You need to buy an addon domain separately. Because you get a free domain name when you buy Hostinger hosting for the first time. You would have created a website already on that free domain name.
- Since you bought the addon domain separately, you would need to verify your domain name ownership. We will guide you for the same later on in this tutorial.
- If you bought the addon domain name from other domain registrars like Namecheap, you would need to change the nameserver pointing to Hostinger nameservers.
How to Install WordPress in Hostinger cPanel
Login to Hostinger Account
Start by logging in to the control panel.
Note:- Hostinger’s cPanel or control panel is known as hPanel also.
Add the Addon Domain
To start the process, add an addon domain first. We can add the domain by two methods.
- Add domain via Add Website under Hosting option of the hPanel menu. Login > Hosting > Add Website
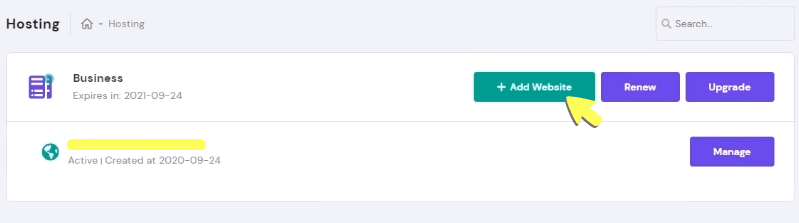
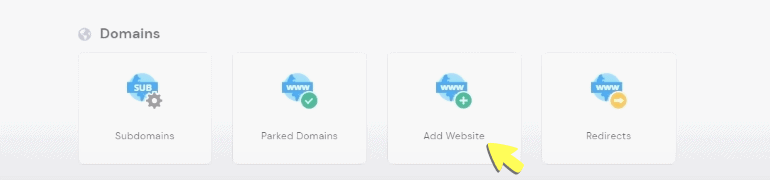
- Add domain via Add Website under Domain option. Login > Hosting > Manage > Domain > Add Website
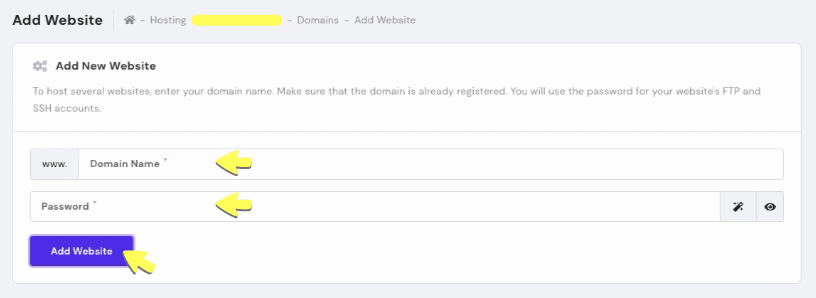
Once you click on Add Website, a new screen will be opened. Complete the form by inserting the domain name and set a password for it. Save these credentials because later on, they may require to access the FTP account. Now, simply click on Add Website to add the addon domain name.
Verify Ownership of Newly Added Addon Domain
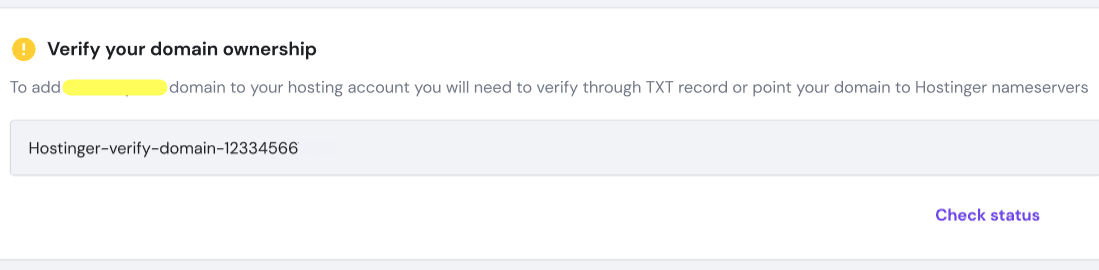
We are covering this topic as some of you may encounter pop up like the above-mentioned image. In case you are a beginner, it could be tricky for you. Also, copy the text in the grey strip. It will be required in the next step.
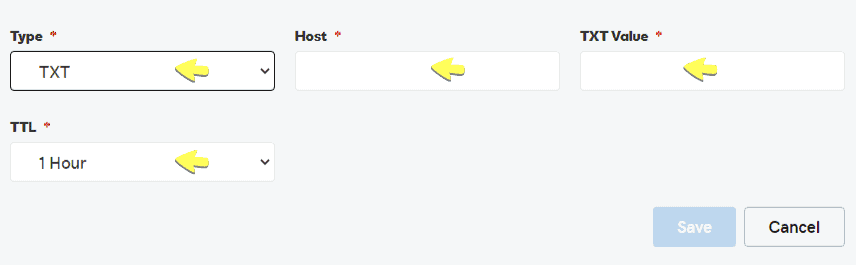
To verify domain ownership, login to the account where your domain name is hosted. It may be your domain registrar. Open the domain DNS settings. There you will find an Add button to add TXT, CNAME, and many other records. Choose the TXT option from the drop-down list. Update the Host field by typing @. The next field is TXT Value, here simply paste the text that you copied earlier. Finally, leave the TTL option as it is and save the settings. That’s it, wait for some time, your domain ownership will be verified soon.
Important:- To verify the domain name, I have used GoDaddy’s example. View of your domain registrar’s control panel may vary from this, but the process will be the same.
Important:- In case you buy new domain name from Hostinger, you may not see the pop asking you to verify your ownership.
Point Nameservers to Hostinger
In-case you purchased your domain name from a third-party domain registrar, you should edit nameservers and change the default nameservers provided by Hostinger. You can do it by visiting the DNS option in domain settings.
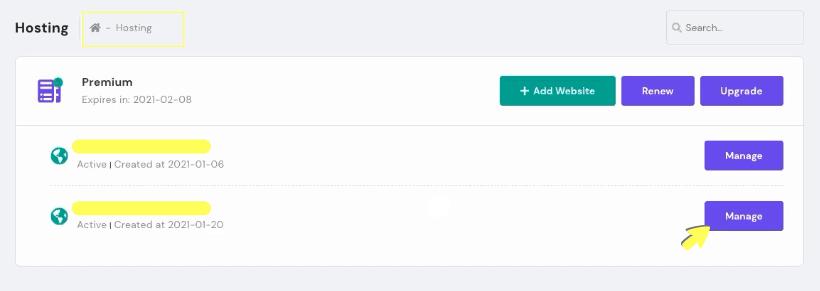
WordPress Installation
Now click on Hosting once again, you will see that the addon domain has been added successfully. Now click on the Manage button and proceed to the next step.
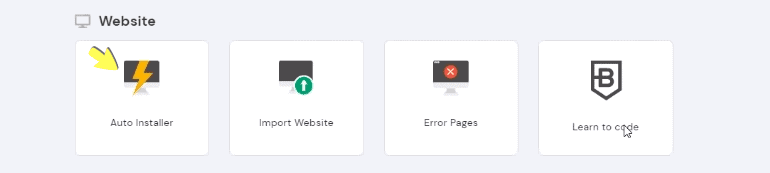
You can see a screen with multiple options, and tools have opened now. All you need to do is search for the Auto Installer button under Website submenu. Without thinking much, click on the Auto Installer button and move forward to the next step.
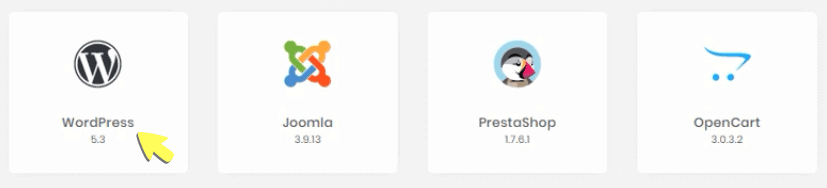
On the next screen, you will find many Auto Installers but choose WordPress Auto Installer out of them.
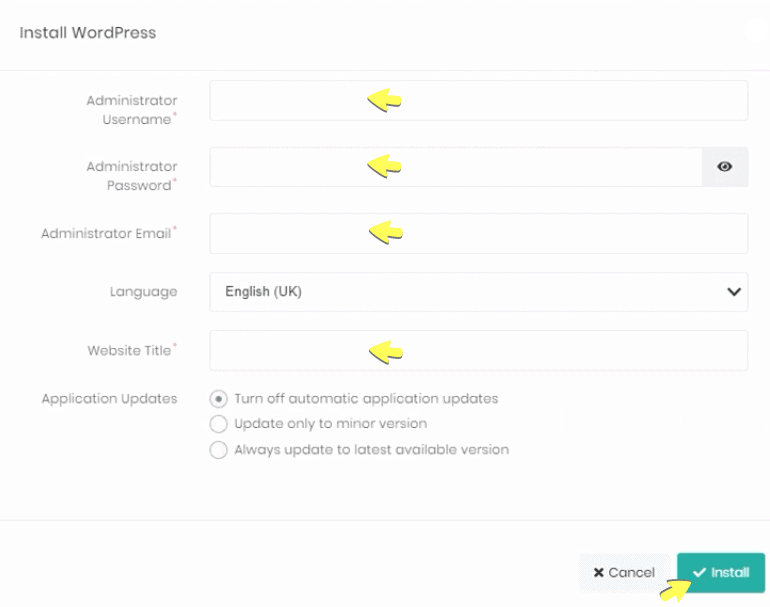
Now, fill out the admin user name, password, admin email, and website title in the respective fields. You need to be careful while choosing your admin user name. Avoid using admin as your user name to stay away from hackers. Last but not least, hit that green-colored Install button hard to start the WordPress installation.
Within seconds installation will be completed. You have created a new website on the Hostinger. You can see your website URL on the screen. Also, cross-check your WordPress admin account details by hitting the Details button.
Before login to the WordPress admin account, ensure that you have created the SSL certificate and installed it successfully.
Congratulations, now your website is ready. You can access WordPress admin area and start creating amazing content for your readers.
Additional Requirements
- You should consider Install essential WordPress plugins for optimum website functionality.
- Change default WordPress settings as per your convenience.
- Create your social media pages for effective marketing.
- Install a beautiful WordPress theme for your site.
I hope you loved the article.
Our Social Addresses
Be with us on Twitter, Facebook for something new and value additions. Also, for the latest WordPress updates and SEO tips.
We request you to join our Facebook group BlogStudies Vitamins. You can ask questions and interact with group members there. We encourage you to share your WordPress experiences with WordPress enthusiasts.