
When you start a new blog, barely know 🤷♂️ how to install a WordPress plugin? In fact, most WP beginners don’t have much idea how amazingly these plugins are going to be your best companions in the journey of the blogging career?
Plugins are easy to use applications that enable you to do a technical task without writing a single code. Plugins automate your blog by their extraordinary add-on features. You simply need to install and activate them. WordPress plugins are one of the key elements of WordPress essentials.
Contents
How Many Plugins You can Install on a WordPress Site
One important thing we should discuss here. Many beginners usually ask us how many WordPress we can install to a WordPress blog? My answer to all those queries is, as many as you want. Surprised! Well, the secret is, even a single badly coded plugin can slow down your WordPress site, whereas multiple quality plugins will never create any performance issue to your site.
Must Read:- Best WordPress plugins for your blog 🚀.
Today we will be unfolding three ways to install a WordPress plugin. Methods that we are going to explore include installing a WordPress plugin using the search method, install a WordPress plugin from zip file, and Install a WordPress plugin manually. Let’s dive in deeper ✌.
1. How to Install a WordPress Plugin Using the Search Method

Before we move ahead, here I am clarifying that both the statements “installing the plugin using the search method” and “installing plugins from the WordPress dashboard” seem different, but they are the same.
This process is simplest way to install any plugin from WordPress library. Let’s learn it step by step-
Step-1:- Searching for Desired Plugin
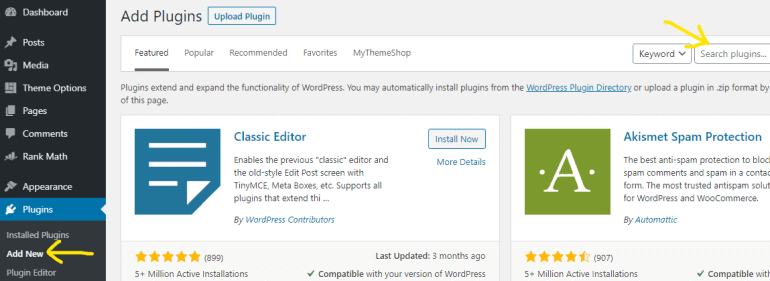
Start with opening your WordPress dashboard. Now hit on plugins > Add New. A new screen will be opened as displayed below.
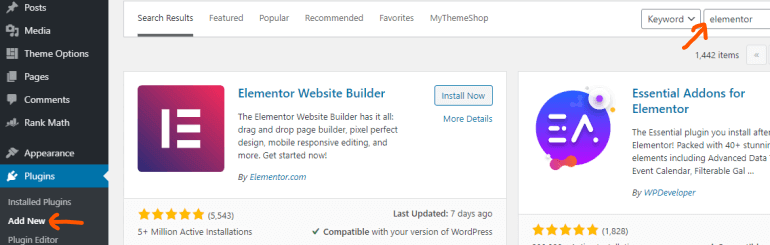
So here I am assuming that your desired plugin is Elementor. Now click on the Search tab and type the keyword Elementor. Now you can see your desired plugin is being displayed. Let’s move to the next step.
Step-2:- Installing the Plugin
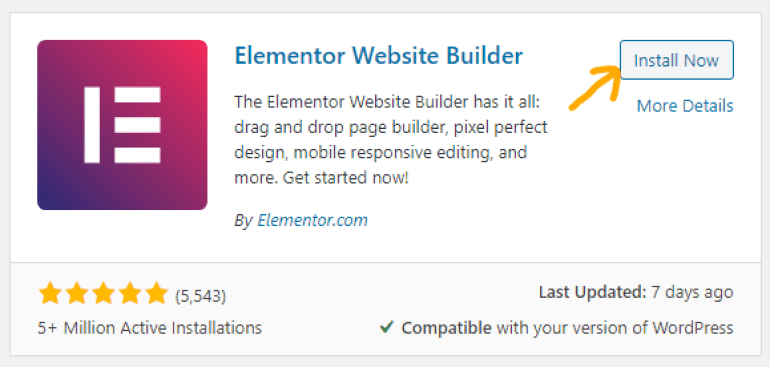
So far, we have decided on the best suitable plugin and searched for it. Now we will install the plugin. Click on the install button and let the magic✨ happen.
Only installation is not enough. To make a plugin fully functional, we need to activate it. We will activate the installed plugin in the next step.
Step-3:- Activating WordPress Plugin
The activate button appears immediately after installing the plugin. Let’s hit the activate button to make the plugin functional.
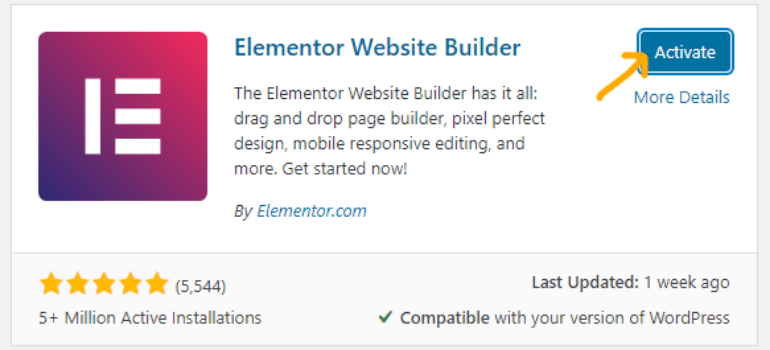
So finally, we have searched, installed, and activated the Elementor plugin. Now it’s ready to do miracles with your blog 🚀.
When we add a WordPress plugin, as a thumb rule, it gets installed with default settings. These settings sometimes do not match with the settings that you actually need to optimize your blog.
For synergizing plugin and your blog, you can change settings from the left menu bar by locating the newly installed plugin.
2. How to Install WordPress Plugin from Zip File

Generally, this method is used to install a WordPress plugin with premium features or pro versions of the free WordPress plugins. I hope you understood by reading the previous statement that the WordPress plugin library can offer you to install free WordPress plugins only.
Step-1 Download Plugin Zip File
In this step, you need to download the zip file of the plugin you wish to install. When you finish downloading, the zip file will be saved to your computer. Let’s take the process on board with installing the Rank Math Pro plugin.
You need not to unzip the plugin files as WordPress will do it automatically.
Step-2 Uploading Plugin
Now click on the add new button under plugins in the WordPress dashboard as you did in the search method.
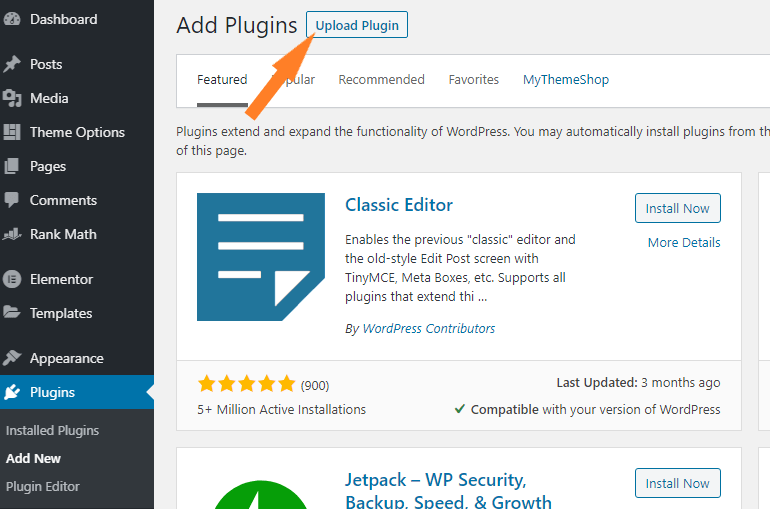
Now you can see a new screen pops up below the ‘Upload Plugin’ button asking you to Choose File.
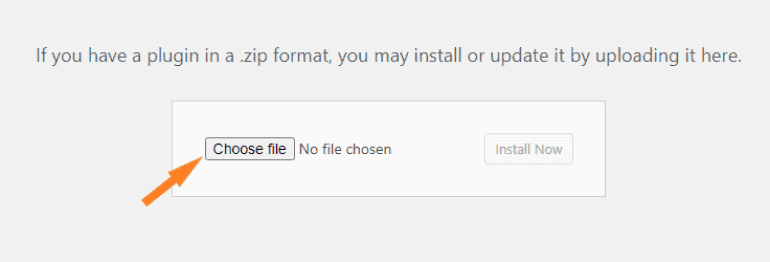
Now you need to hit the ‘Choose File’ button and select the already downloaded plugin zip file from your system.
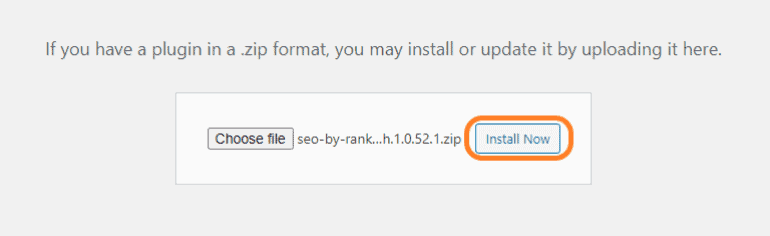
Once you select the file, the ‘Install Now’ button will be activated. Just hit the ‘Install Now’ button to start the installation process of your plugin, which will be finished in a few moments.
Step-3 Activating the Uploaded WordPress Plugin
Activating the WordPress plugin is almost the same as we did in the first method. After installation, the ‘Activate’ button will appear. You just need to click on it to activate the plugin.

So far, you have learned to install a WordPress plugin from the admin panel. Now the third method is totally unique, and we will learn to install the WordPress plugin via FTP method or manual installation of the WordPress plugin.
3. How to Install a WordPress Plugin Manually or Via FTP

The last method to install a WordPress plugin manually or using the FTP method is not much beginner-friendly as the first two methods.
When do we use FTP client to install WordPress plugins?
- In case when you will have some file restrictions by your hosting provider.
- In case when you are facing plugin update or upload errors due to incorrect version and file permissions.
- In case when you encounter any random unknown server errors.
Also, note that instructions for installing plugin manually could be different for every hosting provider. Here I will use the instructions provided by Siteground hosting in this WordPress plugin tutorial.
You can choose any FTP client of your choice to install plugins. The most popular FTP clients are FileZilla and WinSCP. Both of them are available at no extra cost. In this WordPress tutorial, we will proceed with the FileZilla client to explain the manual installation of the plugin.
Step-1 Download FTP [FileZilla] Client
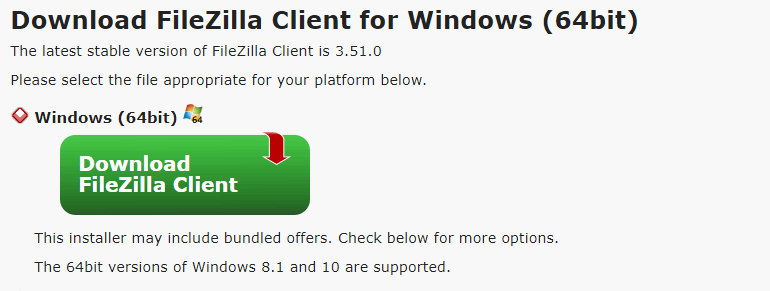
In the first step, you need to download the FileZilla FTP client. Once you download and install FileZilla, restart your system to complete the installation process.
Also, download the zip file of the plugin that you wish to install to your blog from the source and extract it. Here I am using Elementor once again to explain the FTP method for installing the WordPress plugin.
Step-2 Linking Your Website to FTP Client
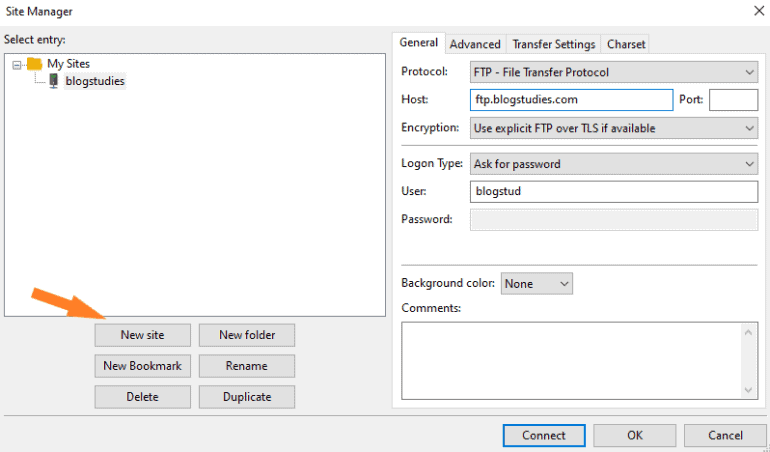
Your host provides your login credentials to access the FTP client account [FileZilla]. In case you are not aware of the username and passwords of the FTP client, you can contact your hosting provider. Alternatively, you can get your FTP account information on the cPanel dashboard.

Now open the FileZilla dashboard and connect it to your website by entering user name and password.
A certificate may pop-up when you will click on the connect button for the first time. Check-in the box as shown below in the image-
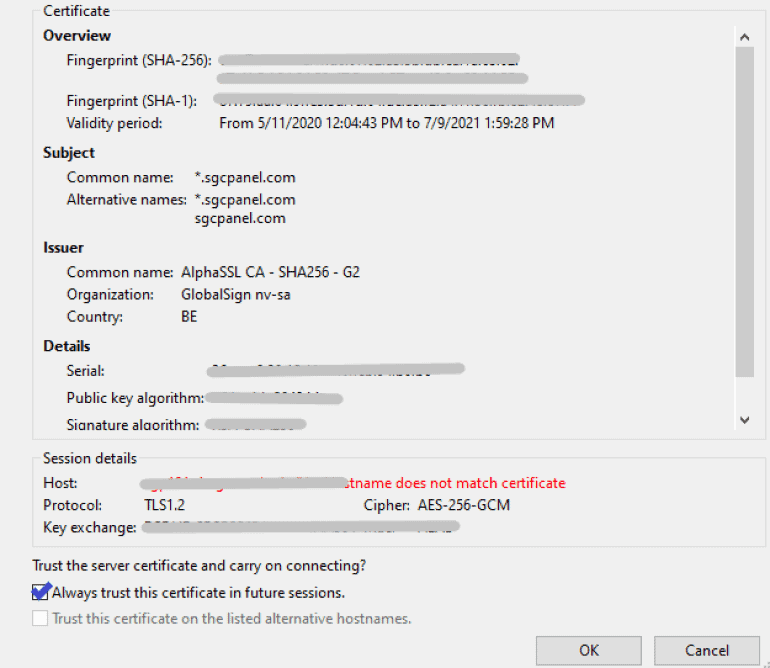
This certificate pops-up when you are connecting FTP client for the first time.
Step-3 Uploading Plugin Files
In this final step, you just need to open the plugins folder [Path- public_html/wp-content/plugins] in the ‘Remote Site’ tab, which contains all the files and folders of your website. You can copy-paste the above-given path for your convenience.
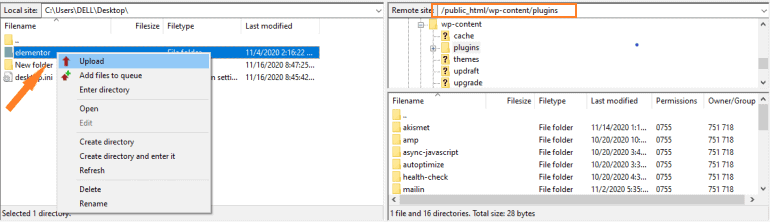
Now move to the ‘Local Site’ tab, which contains files and folders from your computer, and locate your extracted plugin folder [Elementor]. Right-click on the plugin folder and choose the upload option. The plugin will start uploading. Have some patience. It will take a bit of time.

Once uploading finishes, open the plugin menu in your WordPress dashboard. You will find that your plugin has been installed ✌. Just hit the activate button and enjoy the plugin you have installed.
Final Words
I hope now it’s easy to install a WordPress plugin for you. The first method is the easiest and most preferred too. The second method is useful to upload paid WordPress plugins. You will hardly need a third method.
Keep one thing always in mind, that settings may vary for every plugin. Some may need a license key to get new updates, some may not. For some other plugins, you need to enter an API key provided by the plugin author or company to work properly.
Suggested Reading for Beginners:- How to start a WordPress blog?
I hope you loved the article. Be with me on Twitter and Facebook for something new and valuable for WordPress knowledge.